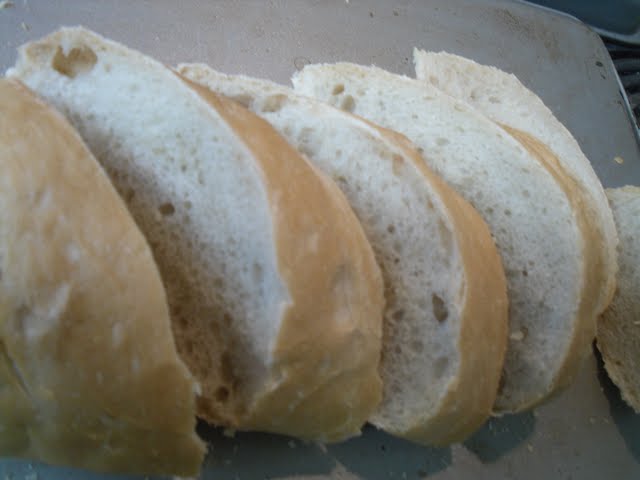
Last week Mr V and I were reminiscing about the crab dip from one of the seafood restaurants where he used to work. It was sooo warm and rich and satisfying. They served it with toasted slices of French bread, cut on the diagonal to obtain more surface area for the dip. Garnish with a bit of lemon juice....divine! It was an appetizer, but I would order it for my main course.
 It's been about 4 years since he worked there, and at least that long since I've eaten the hot crab dip. I thought I could find a similar recipe, but first things first, I'd need some French Bread. After much googling, I stumbled across this tutorial by Jaden Hair, complete with amazing professional photos and extra helpful tips.
It feels a bit silly and redundant to post the same information, but for the sake of the challenge here goes my attempt. In the meantime, I HIGHLY recommend you visit Jaden's site.

3 3/4 cups bread* flour
2 teaspoon active quick rising dry yeast
2 teaspoon salt
1 1/2 cups warm water
1/4 cup bread* flour
* I used all-purpose flour and the loaves were still fantastic. My understanding is that bread flour has a more precise gluten content specific to bread, but it isn't necessary to go out and buy if you have all-purpose.
Equipment:
- Mixer with beater attachment AND dough hook
- Inverted cookie sheets or preferably a pizza stone
- Sturdy bread knife
Directions:

- Pour flour into the mixing bowl. Add the yeast on one side and the salt on the other
- Pour in the warm water and mix on low with your beater until the dough starts to form a single mass

- Switch to the dough hook and kneed on medium for 2 minutes. (I had to add a couple extra tablespoons of flour to get the dough dry enough to release from the sides of the bowl. Add any extra flour slowly so you don't make it too dry)
- Let the dough rest for 5 minutes
- Mix again with the dough hook for 3 minutes

- Remove the dough from the bowl and place it on a clean, lightly floured surface
- Kneed by hand, incorporating an extra 1/4 cup of flour
- Continue to kneed until you can form the dough into a smooth ball

- Spray your mixing bowl with oil and place the dough ball inside, making sure the entire surface of the dough is lightly coated in oil.
- Cover and let rise for about an hour and a half in the warmest area of your house
- After the dough has risen, punch it down and form it into a ball again.
- Preheat your oven to 450F and place your pizza stones or baking sheets inside

- Split the dough into two evenly sized pieces and set one aside, covered with a warm damp cloth
- Stretch out your working dough into a large rectangle.
- Fold the rectangle in thirds over itself lengthwise
- According to Jaden, you must 'karate chop' down the middle seam to seal in the air. This was my favorite part :)

- Stretch out the dough lengthwise and then fold in half again length wise. Position so the seam is on the bottom and pinch the ends to seal in the air.
- Let the loaves rise on a well-floured surface for another 30 minutes

- Make 4 shallow diagonal slices on the top of each loaf to allow steam to escape while baking
- Transfer the loaves each onto their own preheated baking surface

- When placing the loaves into the oven, toss 1/2 cup of water into the bottom of the oven (if your oven is electric). The resulting steam will create an amazing hard crust on the bread.
- Bake 20-25 minutes or until the internal temp is around 200F
Cost:
| flour | 1.30 | ||
| yeast/salt | 0.10 | ||
| 1.40 | $.70 per loaf |
No comments:
Post a Comment